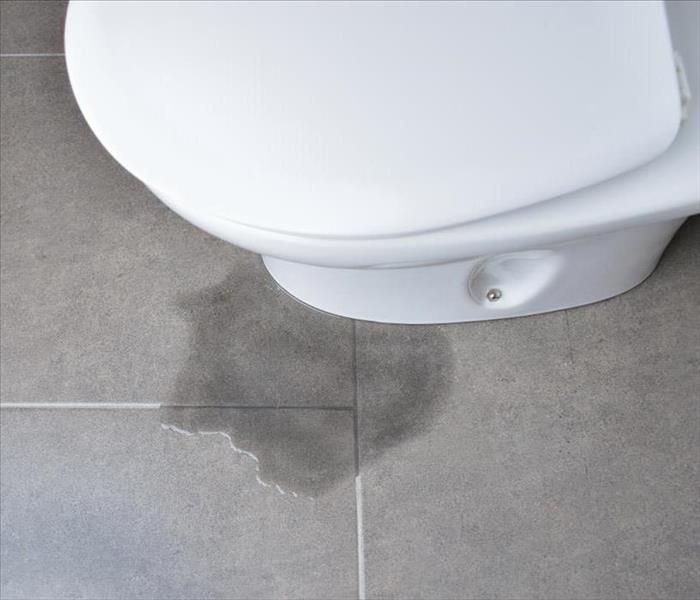
How to Repair a Leaky Toilet
10/8/2020 (Permalink)
A toilet is a very durable, reliable household fixture that is able to last for decades without too many issues. That being said, even the hardiest of toilets can still succumb to leaks from time to time. Follow the steps below if your house in North Aurora, IL, has a leaking toilet.
Step by Step Toilet Repair
Luckily, repairing a leaky, old toilet is a relatively easy process, even if you don't have any experience with plumbing.
Use a wrench to disconnect the supply tube from the shutoff valve. Double check to make sure all the water is drained from the bowl and tank in the leaking toilet.
At the base of the toilet, remove the rounded caps that cover the closet bolts. Remove the hex nuts using a wrench.
Grasp the toilet by the bowl and carefully lift, using your legs. Set the toilet down on an old blanket or cardboard sheet to prevent water damage on your bathroom tiles.
Go to the closet flange and scrape off the old wax gasket. Inspect the closet flange for damage. In most leaky toilet repair cases, a section of the closet flange is broken off.
Loosen the screws that secure the flange to the floor and slide a repair strap underneath it.
Center the new wax gasket on the closet flange. Both closet bolts should be in place during this step.
On the bottom of the tank, connect the new water supply tube to the threaded fill-valve shank.
Apply downward pressure on the rim of the toilet bowl to compress the gasket. Tighten the nuts and apply more pressure.
Trim the tops of the closet bolts using a close-quarter hacksaw. Tighten the nuts and replace the caps.
Reconnect the supply tube to the shutoff valve. Open the valve and flush the toilet. Carefully inspect the new toilet for any leaks.
A leaking toilet is a relatively easy household repair to make. If the above process does not fix the leak, contact water remediation experts for further assistance.


 24/7 Emergency Service
